One of my favorite easy Thanksgiving crafts for kids is the simple paint-handprint on a canvas to create a fun turkey.
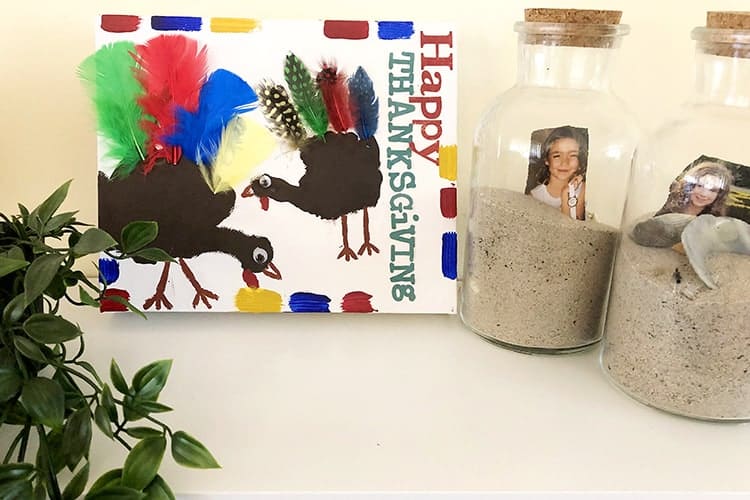
I also had a bit of fun by joining in on the action and doing my own handprint turkey as well. My daughter had loads of fun painting my hand and instructing me on how to do the print.
This kids craft for Thanksgiving is perfect for toddlers and younger kids. My daughter is currently 2.5 years and she loved some aspects of the craft (such as the handprint and gluing the feathers), but she lost interested when it came to the detailed bits.
Because you are incorporating feathers and alphabet stickers, I think even older kids up to the age of 10 might enjoy doing this activity. You can even step up the challenge by getting the older kids to create their own alphabet stickers on your sticker die cut machine.
Find the full instructions on how to recreate the turkey down below.
Easy Turkey Handprint Thanksgiving Craft for Kids
Find below the full step-by-step instructions on how to recreate this Thanksgiving art for kids.
Supplies Required:
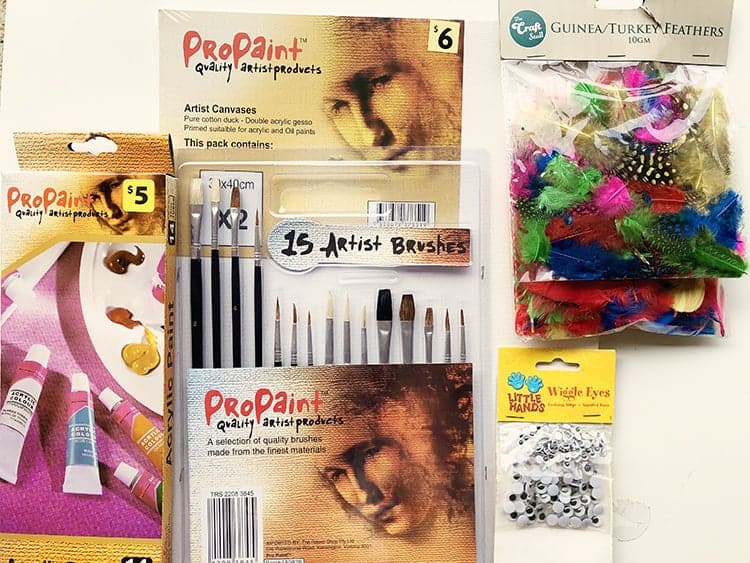
1 x Canvas (25cm x 20cm)
Tube of Light Brown, Dark Brown, and Red Acrylic Paint
1 x Packet of Bright Colored Feathers
1 x Packet of Googly Eyes
1 x Packet of Alphabet Stickers (or Alphabet Stamps and Ink)
1 x Packet of Paint Brushes (I found it easier to simply use a new paintbrush for each color rather than trying to clean one in between steps)
Glue
Optional: Blue, Red, and Mustard Colored Paint for Border
Optional: Baby Wipes to Wipe Hands
Optional: White Paint to Fix up Smears of Paint on Background
Optional: Hair Dryer to Speed up Paint Drying Process
Instructions:
Step 1: Apply dark brown paint to the palm and thumb of your child's hand. Press down the print onto the canvas.Step 2: Apply dark brown paint to your own palm and thumb and press down onto the canvas.
Tip: Use a hair dryer to speed up the drying process of the paint.
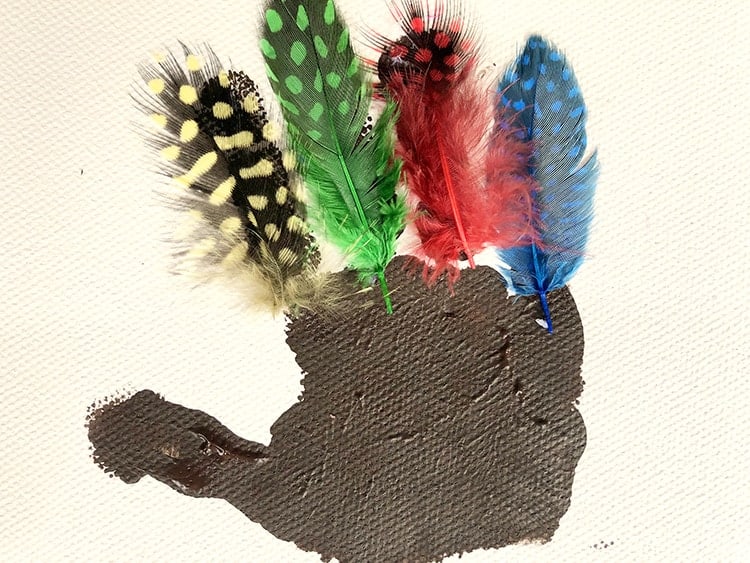
Step 3: Once the paint is dry, glue down some feathers.
Step 4: Adhere a googly eye to each of the turkeys.
Step 5: Add a beak and sticky legs with some light brown paint.
Step 6: Add the red snood to the turkey.
Tip: Use the hair dryer to dry the paint before proceeding.
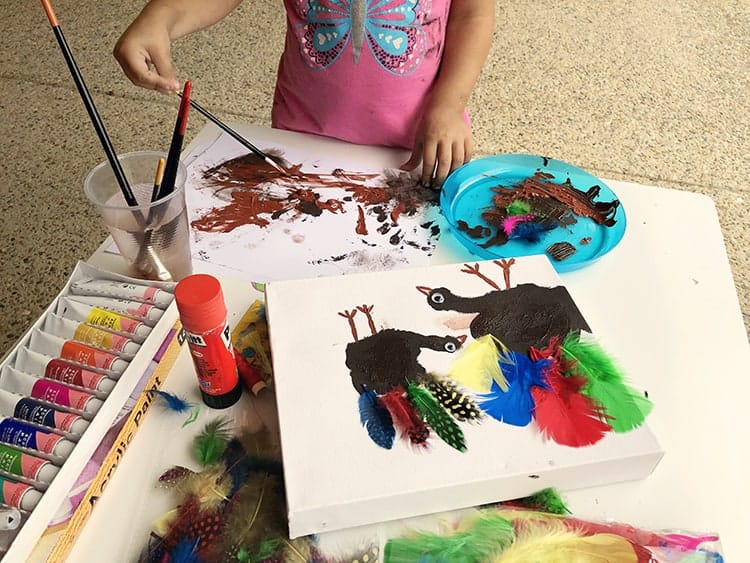
Step 7: Once the paint is dry, fix up any smears of paint on the background with some white paint. My daughter randomly painted over the turkey at one paint, but fortunately, I could save it by wiping off the excess with a wet wipe and simply painting a few layers of white over what was left of the paint.
(See if you can spot the big smear below - notice I gave her paper to keep her busy in between steps)
Tip: Use the hair dryer to dry the paint before proceeding.
Step 8: Add some alphabet stickers to your canvas. Alternatively, your child might prefer having fun with some alphabet stamps and some ink. My daughter is only 2.5 years, so I played it safe with stickers that I could fix up after her attempt.
Step 9: Finish off your canvas with some short smears of red, blue and mustard paint.
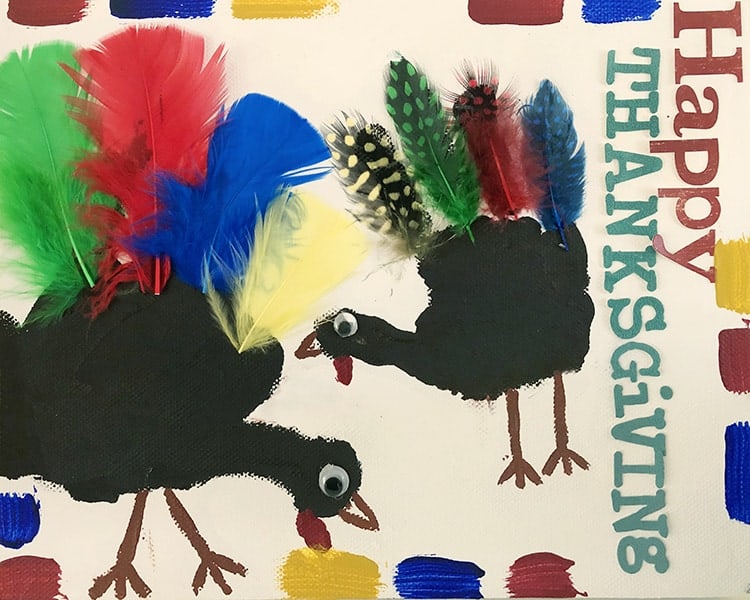
I'm not sure I'm loving this border I created, but I really felt like the canvas needed something around the edge. So I'll leave it up to you whether you wish to do this step or not.
I hope you guys have loads of fun recreating your own turkey handprint crafts. If you are after even more ideas of how to take this craft activity to the next level, check out these inspiration #turkeyhandprint crafts on Instagram. Really love how to did a Thanksgiving plate with the painted handprint, so clever!You can find loads more projects, tutorials and 'how-to' posts on our DIY craft blog here.
Till next time,
Samantha xxx
The following article Easy Thanksgiving Craft for Kids: Turkey Handprint & Feathers was originally seen on: https://thebestvinylcutters.com

No comments:
Post a Comment